Executive Summary
The white powder on exterior stone is most commonly efflorescence—soluble salts carried to the surface by moisture and left behind as water evaporates. The definitive long-term resolution is to control the moisture source and pathways (irrigation, drainage, runoff, cap details, joints), then remove the salts using stone-compatible, least-aggressive cleaning methods.
3 Core Insights
- Identify Before You Clean: Powdery, moisture-linked residue that reappears after rain/fog/sprinklers is typically efflorescence, while rings near sprinklers suggest hard-water scale and uniform post-install films suggest mortar haze.
- Moisture Control Is the Real Fix: Efflorescence keeps returning unless you reduce wetting and improve drying via drainage/slope corrections, irrigation adjustments, runoff management, drip edges, and sound joints.
- Start Least Aggressive to Avoid Damage: Begin with dry nylon brushing and HEPA vacuuming, then escalate carefully—avoid muriatic acid and high-PSI pressure washing that can etch stone, degrade mortar, and worsen future salt cycling.
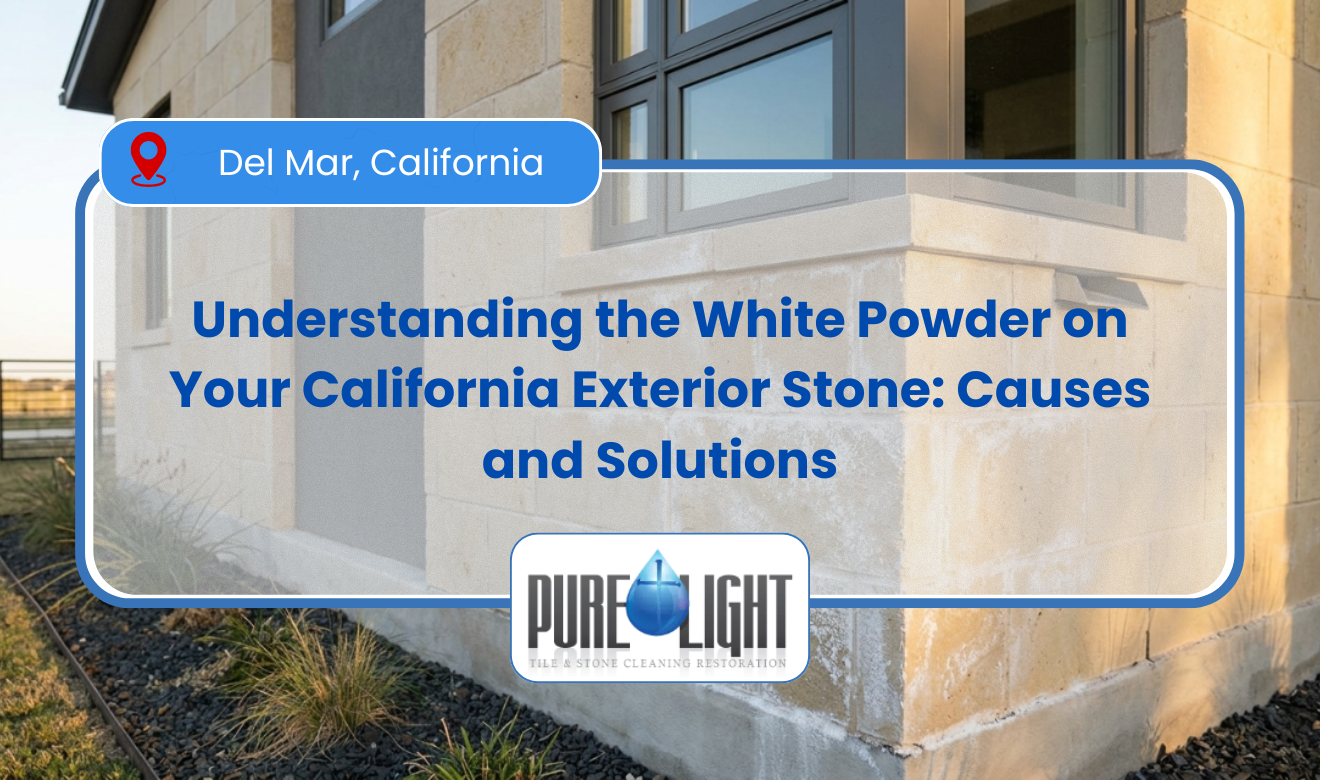
What is this white powder on my exterior stone is usually efflorescence, a salt deposit that forms when moisture moves through masonry and evaporates at the surface. On California homes, it often shows up on limestone caps, flagstone patios, stacked-stone veneers, and stucco-to-stone transitions after winter rains, coastal fog, or frequent sprinkler cycles. Water dissolves soluble salts from mortar, grout, concrete slabs, or the stone itself, then carries them to the face where they crystallize into a chalky film or crust. In the Bay Area and Central Coast, persistent marine layer moisture can keep stone damp overnight and drive repeated salt bloom cycles. In the Inland Empire and Central Valley, hard irrigation water and evaporation heat can leave a bright white haze along planter walls and pool coping. The powder is typically strongest at the base of walls, at weep screed lines, along grout joints, and at slab edges where capillary rise and poor drainage concentrate moisture. Some deposits are harmless surface salts, but thicker crusting can signal ongoing water intrusion, saturated backfill, missing drip edges, or failed sealers that trap moisture behind the stone.
Efflorescence vs. other white residues: how to identify what you’re seeing
Most white powder on exterior stone is efflorescence, but a quick visual and touch check helps rule out mortar haze, mineral scale, or coating failure. Correct identification matters because each issue requires a different removal method and prevention plan.
Use these field indicators before you clean:
- Efflorescence (salt bloom): powdery or crystalline, often reappears after moisture events; typically concentrated at joints, the base of walls, or edges where water exits.
- Lime run / calcium leaching: milky white streaks or drips that harden into crusty trails below caps, sills, or coping; common where water repeatedly travels over cementitious materials.
- Hard-water mineral deposits (scale): bright white rings or spray patterns near sprinklers, hose bibs, fountains, or pool lines; usually denser than efflorescence.
- Mortar/grout haze: uniform film left after installation; usually appears immediately after masonry work and does not track moisture pathways.
- Sealer/wax residue: cloudy whitening or blotchy patches; may feel sticky or smear when rubbed, especially in warm sun.
Simple homeowner checks (non-destructive):
- Dry brush test: If it powders off with a nylon brush and minimal effort, it’s often efflorescence.
- Re-wet behavior: If the white disappears when damp and returns as it dries, that pattern is consistent with soluble salts migrating and recrystallizing.
- Location logic: Deposits along grout joints, slab edges, and wall bases point to moisture transport through masonry rather than overspray alone.
Why efflorescence forms on stone, mortar, and grout
Efflorescence requires three conditions: soluble salts, liquid water to dissolve them, and a pathway to the surface where evaporation leaves the salts behind. Removing the white powder without addressing moisture movement usually leads to repeat cycles.
Common salt sources around exterior stonework include:
- Portland cement materials: mortar beds, concrete backer fills, CMU cores, slab edges, and cap-set installations.
- Joint materials: mortar and grout can contain soluble compounds that migrate during curing and later wetting cycles.
- Soils and fertilizers: planter walls and retaining walls frequently wick salts from saturated backfill.
- Hard irrigation water: dissolved minerals can accumulate where spray contacts warm stone and evaporates quickly.
- Stone composition: some stones (including certain limestones and sandstones) can contribute minerals depending on quarry and porosity.
Typical moisture pathways that drive the problem:
- Capillary rise: water moves upward from wet soil or saturated concrete into porous stone and mortar.
- Hydrostatic pressure: planter walls and below-grade veneers can push water through joints when drainage is inadequate.
- Rain capture points: no drip edge on caps/coping, missing kick-outs, or poorly managed roof runoff.
- Trapped moisture behind sealers: film-forming or incompatible sealers can slow evaporation, forcing salts to crystallize at the face.
Where it shows up most on California exteriors (and what it implies)
Deposit location is diagnostic: it tells you where moisture is entering and exiting the assembly. Mapping the “white zones” is one of the fastest ways to narrow the cause.
High-probability locations and the most common drivers:
- Base of walls / first 6–24 inches: irrigation overspray, capillary wicking from grade, or insufficient clearance between stone and soil.
- Under caps and coping: missing drip grooves, failed caulk at control joints, or water shedding back onto the wall face.
- Weep screed lines at stucco-to-stone transitions: trapped water behind stucco or improper flashing integration.
- Along mortar joints: joints are often the easiest evaporation route; recurring joint bloom signals repeated wetting cycles.
- Slab edges and patio perimeters: poor drainage, negative slope, or wet soil contact with concrete.
In coastal zones (San Diego, Orange County coast, Bay Area, Central Coast), overnight dampness from fog can keep masonry at higher moisture content and extend crystallization cycles. Inland areas (Riverside/San Bernardino, Central Valley) tend to show more irrigation-related mineral deposits because evaporation rates are higher.
Safety and material compatibility: what you should not do first
Most damage from white-powder cleanup comes from using the wrong chemistry or pressure, not from the salts themselves. Exterior stone is often porous and cement-adjacent, so aggressive acids and blasting can etch, spall, or permanently lighten the surface.
Avoid these common mistakes:
- Do not start with muriatic acid: it can etch calcareous stones (limestone, travertine), degrade mortar, and drive salts deeper if not controlled.
- Do not pressure-wash at high PSI up close: it can erode joints, open pores, and increase future water absorption.
- Do not “seal over” active efflorescence: sealing while moisture is present can trap water and intensify future bloom or cause whitening under the coating.
- Do not use wire brushes on softer stones: metal bristles can scratch and leave rusting fragments.
When in doubt, identify whether the stone is calcareous (reactive to acids) or siliceous (generally more acid-tolerant). Limestone, marble, and travertine are calcareous and require non-acid or specially formulated cleaners.
Step-by-step removal options (least aggressive to most corrective)
Effective removal starts dry and escalates only as needed; the goal is to remove salts without increasing porosity or forcing moisture deeper. Always test a small, hidden area first and let it dry fully to evaluate results.
1) Dry removal for light, powdery bloom
Dry brushing and vacuuming remove loose salts without introducing more water into the wall. This is the preferred first step for new or recurring light efflorescence.
- Let the stone dry completely (ideally 24–48 hours without irrigation).
- Use a stiff nylon brush to agitate the surface.
- Vacuum with a HEPA shop vac to capture fine salt dust.
- Repeat after the next dry cycle if salts reappear.
2) Low-water rinse and controlled scrubbing for moderate deposits
Minimal water and agitation can remove more stubborn residue while reducing the risk of mobilizing deeper salts. The key is rapid removal and quick drying, not soaking.
- Pre-wet lightly (mist, not saturation) to reduce surface scratching.
- Scrub with nylon brushes and a stone-safe cleaner appropriate to the stone type.
- Rinse with low pressure and extract runoff so it doesn’t dry back onto the surface.
3) Specialty efflorescence removers and poultice-style methods for crusting
Thicker crusts often require chemistry designed for salt removal, but product choice must match the stone composition and joint materials. For calcareous stone, use non-acidic or buffered formulations approved for limestone/travertine.
Situations where a professional process is typically warranted:
- Repeated return of heavy deposits within 1–2 weeks of cleaning.
- White crust that feels hard and bonded (not dusty).
- Large wall areas where runoff control matters (protecting landscaping, metals, and adjacent finishes).
If you need a deeper clean on exterior masonry and stone without trial-and-error, consider scheduling Exterior Stone Cleaning to remove deposits safely and reset the surface for proper drying and sealing (when appropriate).
Preventing the white powder from coming back: moisture control first
Efflorescence is a moisture-management issue more than a cleaning issue; you prevent recurrence by reducing wetting and improving drainage and drying. The most durable fixes address water entry, water storage, and water exit points.
Prioritized prevention checklist:
- Fix drainage and slope: hardscape should drain away from walls; avoid soil contact with veneer when possible.
- Control irrigation: adjust sprinkler heads to avoid wetting stone; switch to drip where feasible; reduce frequency in shaded areas.
- Manage roof runoff: extend downspouts; add splash blocks or drains; stop roof water from dumping near stone bases.
- Improve cap details: add/restore drip edges or drip kerfs on caps and coping so water sheds clear of the face.
- Maintain joints: failed joints admit water; keep mortar/grout in good condition and repair cracks promptly.
- Avoid trapping moisture: use breathable, penetrating sealers only after the assembly is dry and salts are removed.
For adjacent tile and grout surfaces (showers, patios, entries), consistent cleaning practices reduce mineral accumulation and help you spot moisture issues early. Practical technique guidance is outlined in Mastering Floor Cleaning Techniques: A Comprehensive Guide in San Diego, CA.
California building and installation factors that influence efflorescence risk
Exterior moisture performance depends on drainage planes, flashing, and weep systems—not just the stone. In California, modern code expectations for weather-resistive barriers and flashing details are designed to move water back out of the wall.
Real-world conditions that raise risk on residential exteriors:
- Veneers without effective drainage: adhered stone installed over substrates that don’t provide a reliable drainage path can hold moisture.
- Planter walls and retaining walls: lack of gravel backfill, drain mat, or functioning outlet can keep walls saturated.
- Improper terminations: missing weep paths or blocked exits trap water where it will seek the easiest evaporation route—often the face of the stone.
If deposits are concentrated at a specific transition (stucco-to-stone, cap-to-wall, slab-to-veneer), treat it as a detailing issue first, not a cleaning frequency issue.
Efflorescence diagnostic and response table (materials, methods, and local context)
This table organizes the most common white-residue scenarios on exterior stone and pairs them with the correct first response. Use it to decide whether you’re dealing with surface salts, irrigation minerals, or water-intrusion symptoms.
| Feature / Metric | Specifications | Local Guidelines |
|---|---|---|
| Deposit texture | Powdery/crystalline suggests efflorescence; hard glassy scale suggests irrigation minerals; smeary haze suggests sealer residue | In coastal CA, repeated damp nights can keep salts cycling; inland heat increases evaporation and visible mineral haze near sprinklers |
| Most common locations | Wall base, grout/mortar joints, slab edges, under caps/coping, planter faces | Inspect irrigation overspray, downspout discharge points, and cap drip edges first; these are the highest-frequency drivers on CA homes |
| First-line removal | Dry nylon brushing + HEPA vacuum; escalate to low-water scrub and stone-safe cleaner only if needed | Avoid high-pressure washing near joints; it increases porosity and future salt migration, especially on softer sandstone/limestone |
| When it’s a moisture-intrusion signal | Rapid return after cleaning, damp substrate, peeling coatings, deposits concentrated at transitions | Treat as drainage/flashing/irrigation problem; do not seal until the assembly is dry and salts are removed |
When to call a pro: thresholds that justify expert cleaning and repairs
Professional help is justified when deposits are bonded, recurring quickly, or tied to building-envelope defects. The goal is not just aesthetics—it’s preventing long-term damage like joint deterioration, spalling, and chronic saturation.
Escalate beyond DIY if you see any of the following:
- Thick, cement-like crust that won’t brush off and keeps growing.
- Soft or sanding mortar joints, missing grout, or cracks that admit water.
- Interior symptoms near the same wall section (musty odor, staining, damp drywall).
- Stone flaking (spalling) or surface scaling, especially after wet winters.
- Large surface areas where runoff control is required to protect adjacent finishes and landscaping.
In these cases, the right workflow is usually: diagnose moisture source → remove salts with compatible methods → allow full drying → apply a breathable treatment only if appropriate → monitor for recurrence after the next rain/irrigation cycle.
Clear takeaways: what the white powder means and what to do next
That white powder on exterior stone is most often efflorescence—salts transported by moisture and left behind as water evaporates. The durable fix is controlling water movement (irrigation, drainage, drip edges, joints) and using removal methods that match the stone type.
Action plan you can follow immediately:
- Document and map where deposits appear (base, joints, caps, slab edges).
- Start dry (nylon brush + HEPA vacuum) and only escalate if needed.
- Stop the wetting source (adjust sprinklers, redirect downspouts, correct drainage).
- Delay sealing until deposits are removed and the masonry is fully dry.
- Bring in professional cleaning if crusting is heavy, recurring quickly, or tied to construction transitions and drainage defects.
Frequently Asked Questions
Stop the White Powder Before It Becomes a Bigger (and Pricier) Exterior Problem
That “harmless” white powder isn’t just an eyesore—it’s a moisture warning label. Efflorescence and mineral deposits are often the first visible sign that water is moving through your stone, mortar, grout, or slab edges. And if you treat it like a simple scrub-and-rinse job, you can accidentally lock the problem in place or make it worse.
Here’s what typically goes wrong when homeowners try to DIY this without the right experience and stone-safe process:
- Acid etching and permanent lightening: one wrong cleaner (especially muriatic acid) can scar limestone, travertine, and other calcareous stone—damage that doesn’t “wash off.”
- Pressure washing that destroys joints: high PSI up close can erode mortar and grout, open up pores, and increase future water absorption—meaning more salt bloom later.
- Sealing too soon and trapping moisture: sealing over active moisture can force salts to crystallize at the face (or under the coating), leading to whitening, peeling, and repeated failure cycles.
- Hidden moisture issues get ignored: heavy or recurring deposits can point to drainage, irrigation overspray, saturated backfill, missing drip edges, or flashing/transition problems—if you only “clean it,” it comes right back.
- Runoff damage to landscaping and surrounding finishes: improper rinsing and uncontrolled runoff can stain adjacent surfaces, harm plants, and redeposit residue as it dries.
If the bloom keeps returning, feels crusty and bonded, or shows up at wall bases, joints, slab edges, caps, or stucco transitions, the smartest move is a local pro who can remove deposits safely and help you pinpoint the moisture pathway that’s feeding them.